
Wedding Planning 101: 10 Steps for Preparing Your Wedding Day Timeline
Planning a wedding involves countless details, but one of the most crucial aspects is the wedding day timeline. A well-structured timeline helps your wedding day run smoothly, reduces stress and sets expectations, allowing you to fully enjoy each moment. Your wedding day timeline is a tool for each and every vendor, your coordinator and venue, wedding party, and most importantly, you! Here's a step-by-step guide—and some expert considerations—to crafting the perfect wedding day timeline.
Step 1: Start with the Ceremony
Determine the Ceremony Time
The ceremony is the centerpiece of your wedding day, so start by setting the time for this event. Everything else will revolve around it. Consider factors like travel time for guests, lighting for photography, and the season when selecting your ceremony time.
Calculate Backwards
Once the ceremony time is set, work backward to determine the start times for pre-ceremony activities, such as hair and makeup, getting dressed, and any pre-ceremony photos you plan to take.
Step 2: Determine Your Reception End Time
Check Your Venue Contract
While it may feel odd to pick an end time for your reception at the start of your wedding timeline planning, your venue likely has parameters for the exact time your event must end. With those parameters are a few things to consider for your timeline. If you’re having bar services, when is last call? If your rental contract states everything and everyone must be out of the venue by midnight, consider how long it will take to have guests make their exit and take down any decor items.
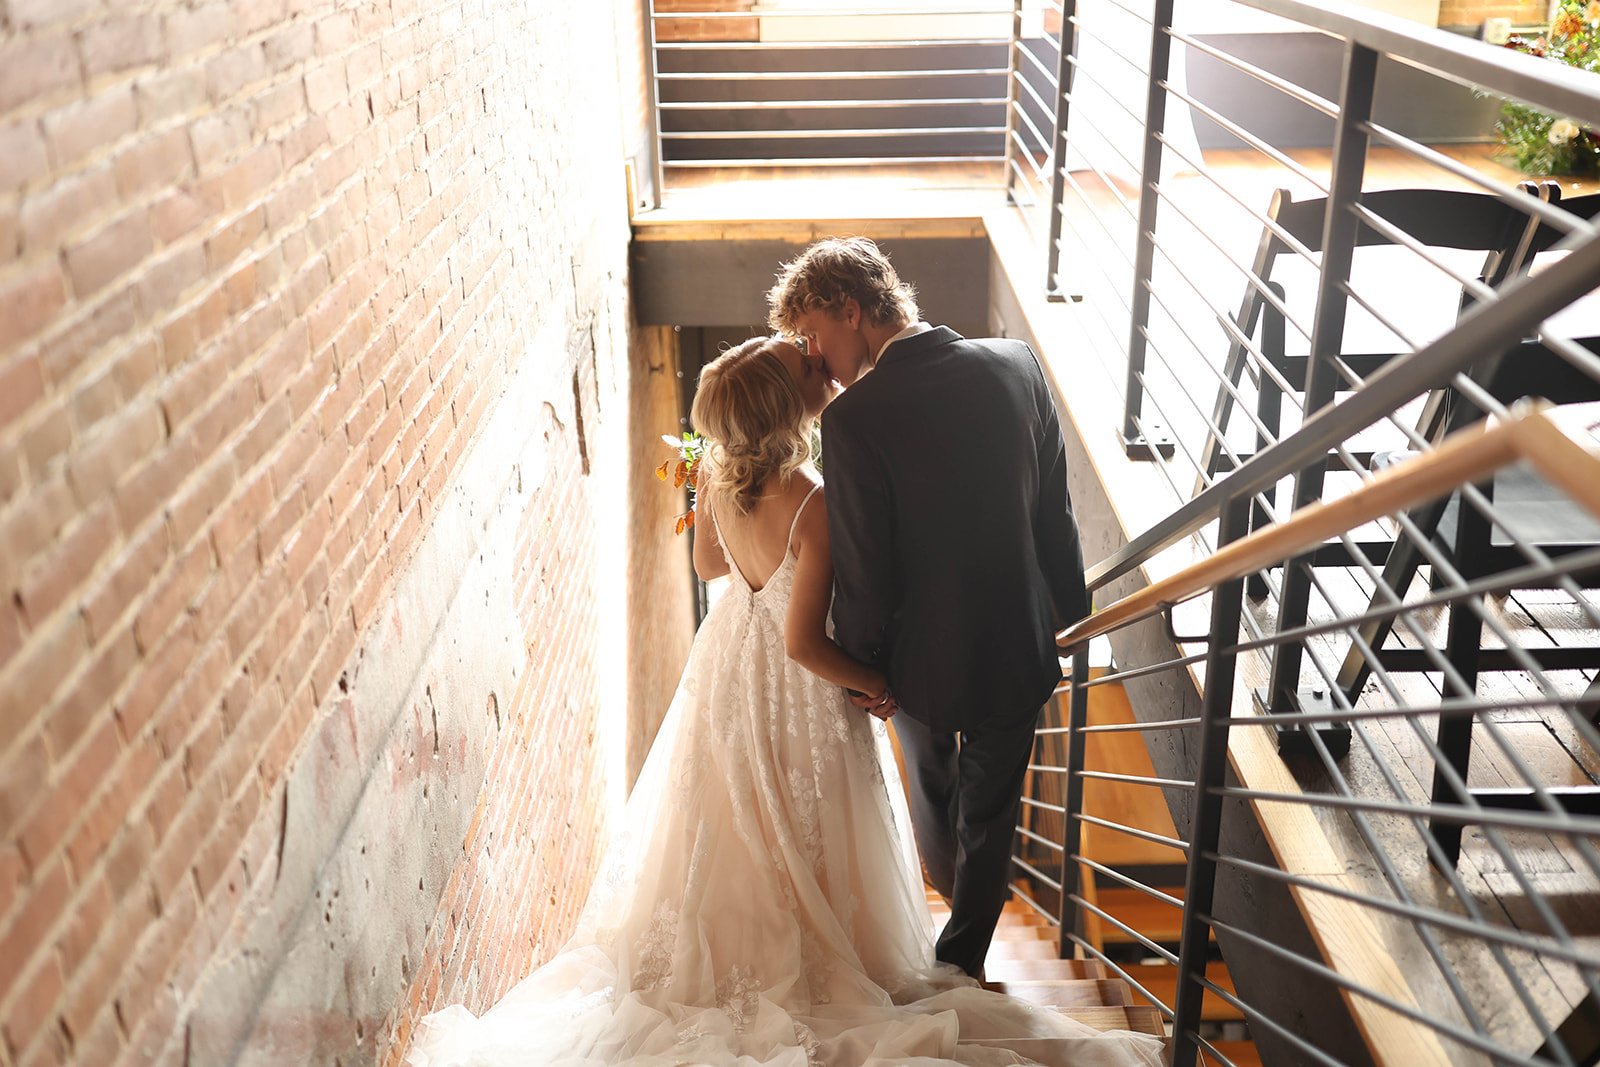
Step 3: Factor in the Photography
First Look or Down the Aisle
Have you and your partner decided on a first look or waiting until the ceremony? If it’s the latter, you will need extra time between the ceremony and reception—often during a cocktail hour—for bride and groom, family and bridal party photos.
Regardless of when your photos are taken, below are some averages about how long you’ll need for each formal photo session:
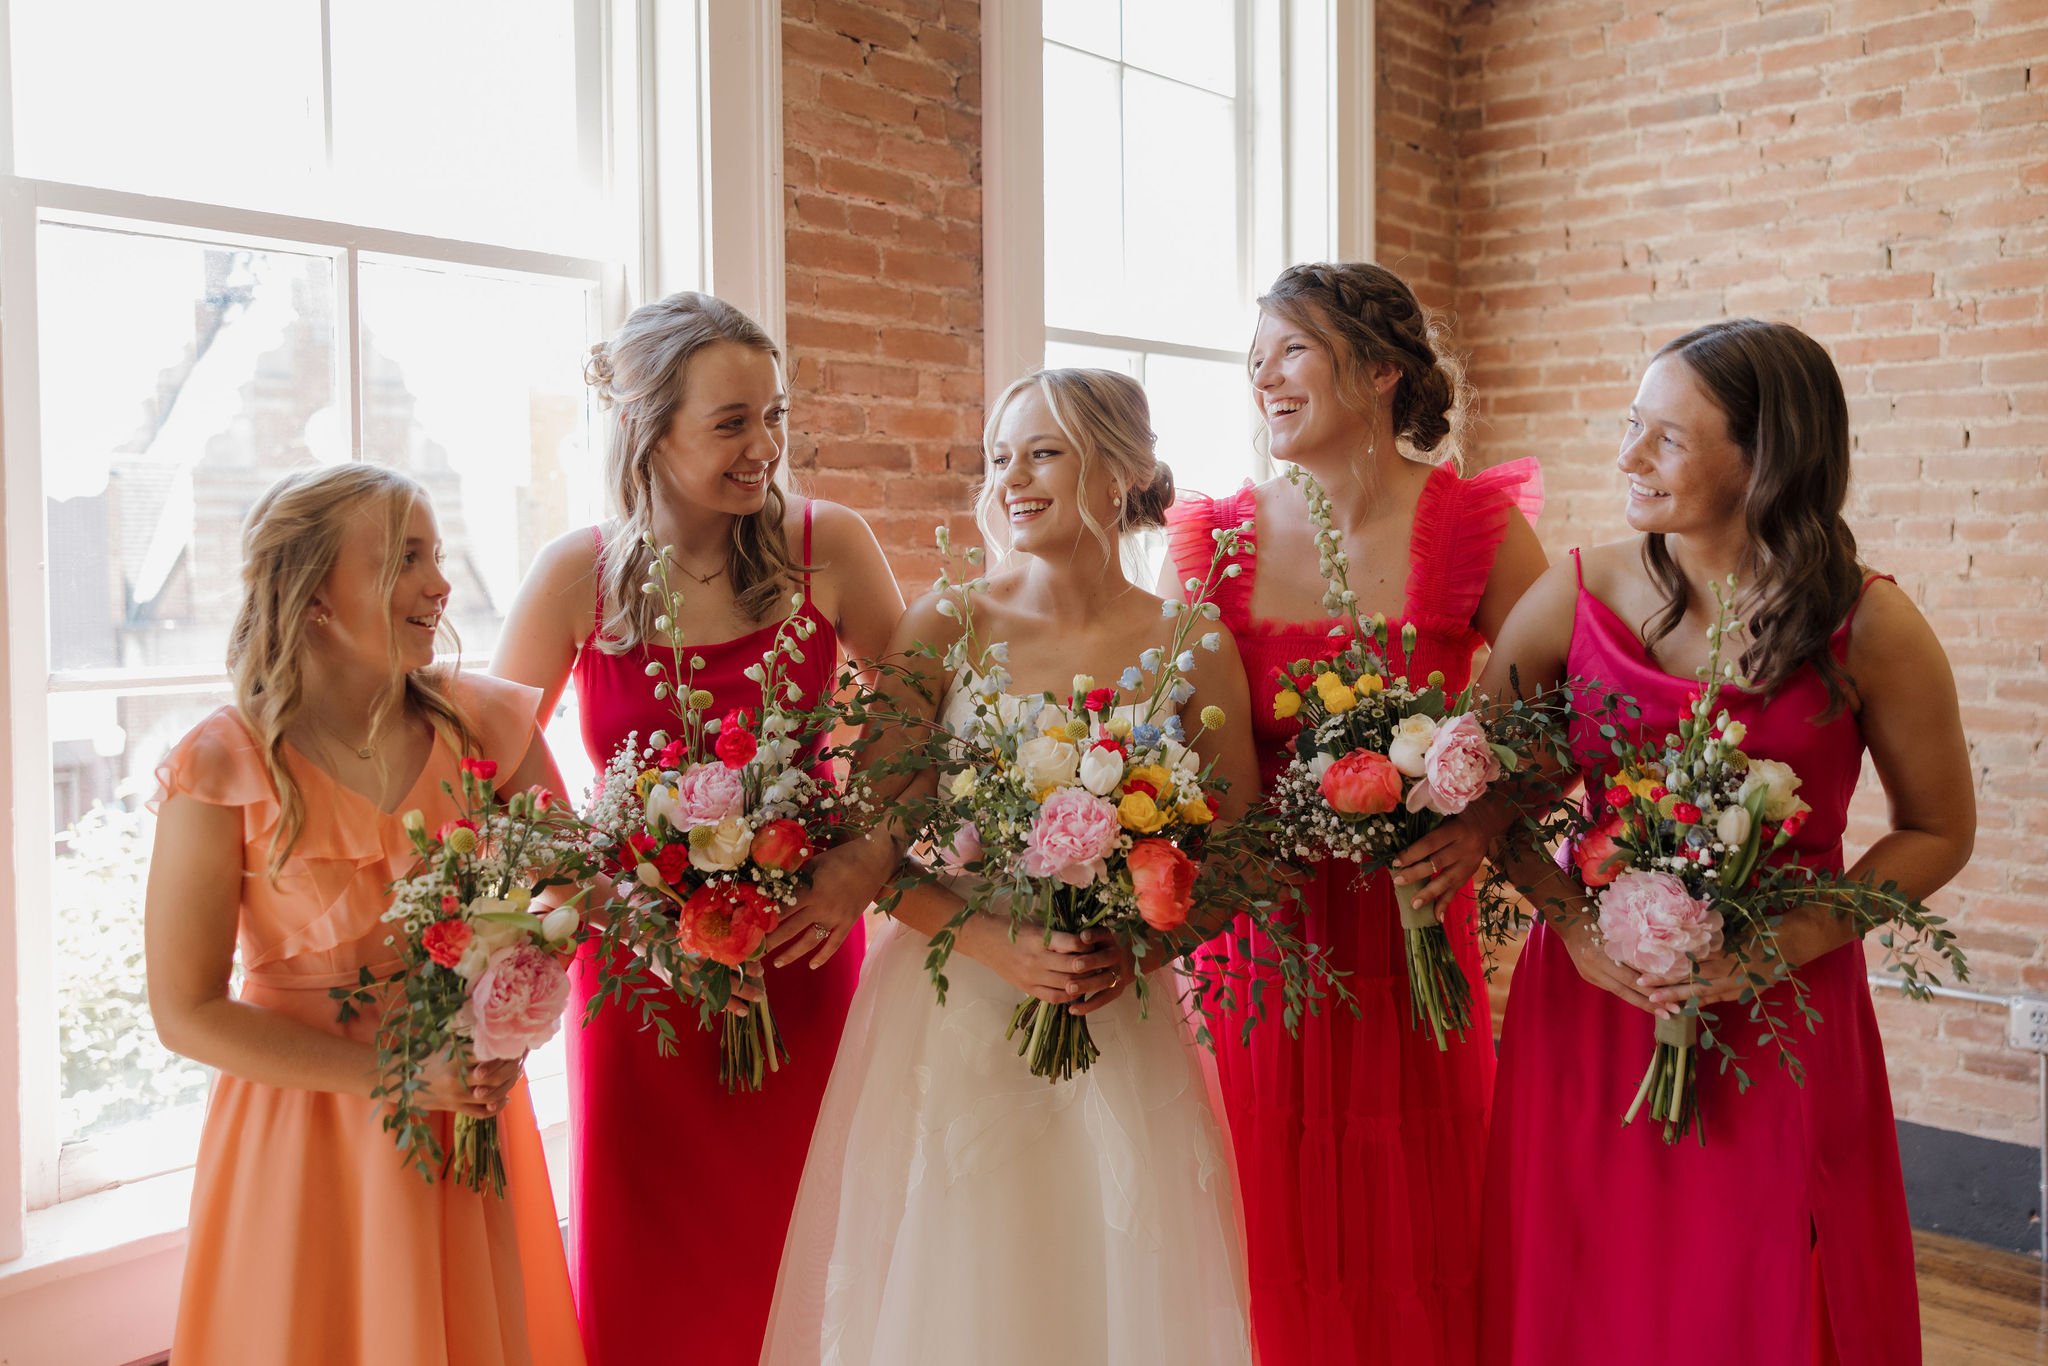
Wedding party portraits: 30 minutes
Family portraits (close family only): 30 minutes
Couple portraits: 45 minutes
Be sure to confirm timelines with your photographer ahead of time, especially if you have any special locations in mind.
Step 4: Allocate Time for Getting Ready

Hair and Makeup
Allocate at least 60-90 minutes for the bride's hair and makeup and around 30-45 minutes for each bridesmaid. Don’t forget to include time for touch-ups and any unexpected delays.
Getting Dressed
Set aside at least 30 minutes for the bride to get into her dress. Zippers can get stuck, buttons can be tricky, and it's important to have a moment to breathe and take it all in.
Step 5: Ceremony
Duration
Most wedding ceremonies last between 20 to 30 minutes, but if you have special readings, music, or traditions, it could be longer. Make sure to discuss this with your officiant.
Step 6: Post-Ceremony
Receiving Line
If you’re having a receiving line, plan for about 20-30 seconds per guest. For 100 guests, this can take about 30-50 minutes.
Family and Group Photos
As mentioned before, many brides and grooms take family portraits between the ceremony and reception. Allocate approximately 30 minutes for these photos. If you have a large immediate family, more time may be suggested. Create a list of essential shots and designate someone to help round up family members.
Step 6: Cocktail Hour
Timing
A standard cocktail hour lasts 60 minutes. If you need more time for photos, consider extending this to 90 minutes.
Step 7: Reception

Grand Entrance
Plan 10-15 minutes for the grand entrance and the couple’s first dance if it’s happening right away.
Dinner
Dinner service can take anywhere from 60-90 minutes, depending on the style of catering (buffet, plated, or family-style) and the size of your reception. Coordinate with your caterer for precise timing.
Toasts and Speeches
Allocate about 3-5 minutes per toast or speech. Include breaks between courses to avoid a long, continuous speaking period.
Cake Cutting and Dessert
Plan 10-15 minutes for the cake cutting and time for dessert service. This can be a great opportunity for guests to mingle.
Dancing and Entertainment
Ensure you have at least 2-3 hours for dancing and entertainment. If you have any special performances or traditions, incorporate them into the timeline.
Step 8: Closing the Night

Last Dance
Choose a specific time for the last dance. This can be a sweet, intimate moment to wrap up the night.
Exit
If you’re planning a grand exit, allocate 10-15 minutes. Whether it’s a sparkler send-off, farewell toast, or something unique, make sure your photographer is ready to capture it.
Step 9: Buffer Time
Add Extra Time
Incorporate buffer time throughout the day. This can account for unexpected delays, giving you peace of mind and flexibility.
Step 10: Communicate Your Timeline
Share with Key Vendors
Send your timeline to all key vendors, including your photographer, videographer, DJ/band, caterer, and coordinator.
Distribute to the Wedding Party
Make sure your wedding party has a copy of the timeline so everyone is on the same page.
Creating a wedding day timeline is an essential part of planning your big day. By following these steps, coordinating with your vendors and venue, and incorporating buffer time, you can reduce stress and enjoy a day filled with love, laughter, and unforgettable memories.